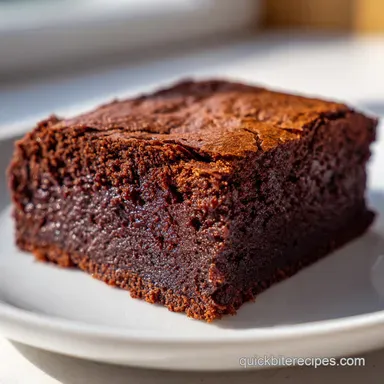
Ultimate Decadent Fudgy Chocolate Brownie Recipe
- Time:10 minutes active + 30 minutes baking = Total 40 minutes
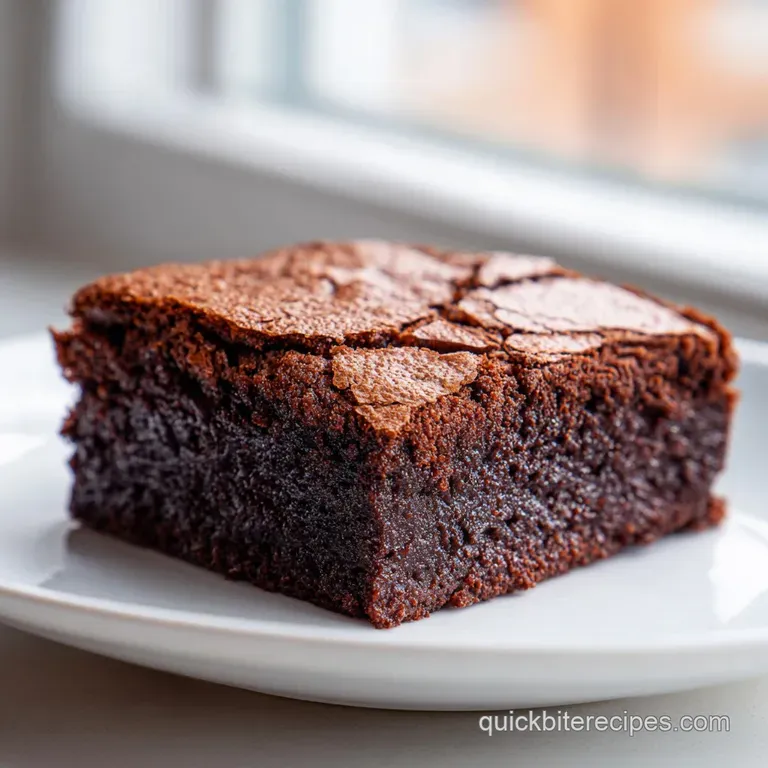
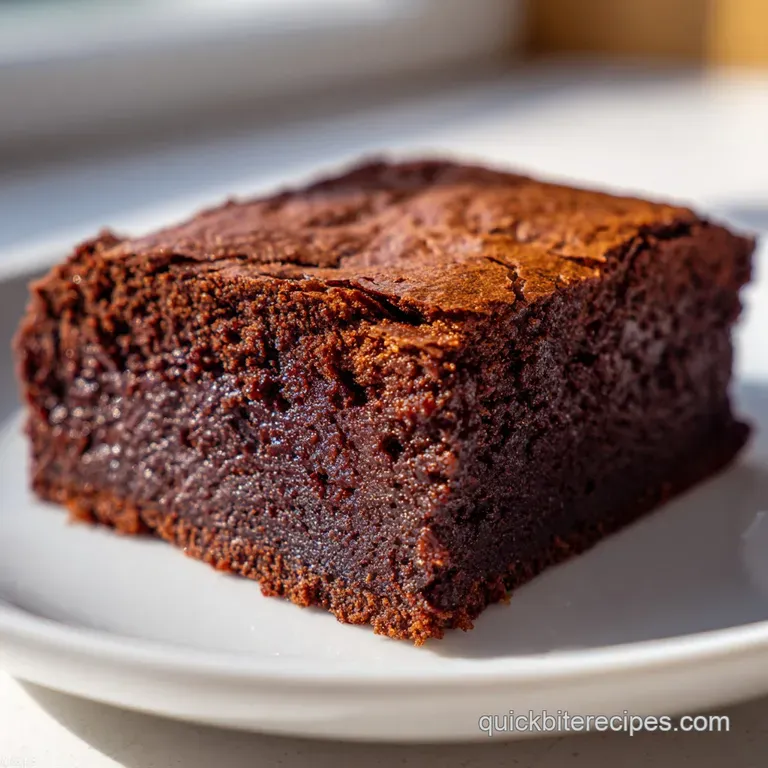
- Flavor/Texture Hook: Dense, velvety center with a shattering paper thin crust
- Perfect for: Last minute dessert cravings or a crowd-pleasing party platter
Forget everything you've heard about needing a professional stand mixer or a chemistry degree to get that iconic, crinkly top. I used to think those fancy machines were the only way to get the air into the batter, but honestly, a simple hand whisk and a bit of elbow grease do the job better.
You have much more control over the eggs when you're doing it by hand.
The real trick isn't in the equipment, it's in the timing and the temperature of your chocolate. Most people just throw everything in a bowl and hope for the best, but treating the chocolate base with a bit of care makes all the difference.
When you pull these out of the oven, you'll notice that signature look - edges that are just starting to pull away and a center that still looks a bit underdone. Don't panic and keep baking them. That's where the magic happens.
This Ultimate Decadent Fudgy Chocolate Brownie Recipe relies on carryover heat to set that dense, fudge like interior.
Ultimate Decadent Fudgy Chocolate Brownie Recipe
The goal here is a brownie that feels heavy in your hand and melts the moment it hits your tongue. We aren't making a chocolate cake; we're making something much more concentrated and intense.
By using both melted semi sweet chocolate and cocoa powder, we get a depth of flavor that you just can't achieve with one or the other.
If you're looking for something a bit more airy, you might want a cake, but if you want that rich, chewy bite, this is the way to go. It's the kind of treat that pairs perfectly with a cold glass of milk or a sharp espresso to cut through the richness.
The Secret to Success
To get this right, you have to understand how the ingredients interact. It's less about following a list and more about watching the textures change as you go.
The Air Pocket: Whipping the eggs and sugar creates tiny air bubbles that support the structure without needing much flour. This is what gives you that slight lift while keeping the center dense.
The Fat Ratio: Using a high amount of butter and chocolate relative to the flour ensures a velvety mouthfeel. Flour adds structure, but too much of it turns your brownie into a sponge cake.
The Sugar Melt: Sugar doesn't just sweeten; it liquefies in the oven. This creates that glossy, shattering crust on top as the sugar migrates to the surface.
The Temperature Gap: Adding hot melted chocolate to room temperature eggs can occasionally scramble them if you're too fast. Pouring slowly and whisking constantly keeps the emulsion stable.
I once read a theory that you have to beat the eggs for ten minutes, but trust me on this, 3 minutes is the sweet spot. Any more and you're introducing too much air, which moves you away from "fudgy" and toward "cakey." If you love this level of richness, you might also enjoy a Triple Chocolate Mousse Cake for your next dinner party.
But what about the common myths? Let's clear a few things up. Some people say you must use melted butter for a fudgy texture, but the real secret is the ratio of fat to flour. Others claim that adding a pinch of salt ruins the sweetness, but salt actually suppresses bitterness in the cocoa, making the chocolate taste more intense.
Recipe Specs
Before we dive into the pan, let's look at the roadmap. This recipe is designed for a standard 8x8 inch pan to ensure the thickness is just right.
| Feature | Fast Method (Cocoa Only) | Classic Method (This Recipe) |
|---|---|---|
| Prep Time | 5 minutes | 10 minutes |
| Texture | Soft and uniform | Dense and velvety |
| Flavor | Sweet chocolate | Deep, complex cocoa |
| Effort | Very Low | Low |
Right then, the most important thing to remember is the baking time. Because every oven is a bit different, the visual cues are more important than the timer. You're looking for the edges to be firm but the center to have a slight "wobble" when you shake the pan.
Gathering Your Essentials
Don't start mixing until everything is on your counter. There's nothing worse than realizing you're out of eggs while your chocolate is starting to seize.
Component Analysis
| Ingredient | Science Role | Pro Secret |
|---|---|---|
| Semi sweet Chocolate | Provides structure and fat | Use a bar, not chips, for the melting phase |
| Granulated Sugar | Creates the crackly crust | Don't reduce the amount or you lose the shine |
| Large Eggs | Emulsifies fat and adds lift | Room temperature eggs incorporate much faster |
| Cocoa Powder | Intensifies chocolate flavor | Sift it to avoid tiny bitter clumps |
The Shopping List
- 115 g Unsalted butter Why this? Provides the necessary fat for a velvety crumb (Substitute: Coconut oil for dairy-free)
- 115 g Semi sweet chocolate, chopped Why this? Adds richness and stability (Substitute: Dark chocolate for less sweetness)
- 45 g Unsweetened cocoa powder Why this? Deepens the chocolate profile (Substitute: Dutch processed for a darker look)
- 200 g Granulated sugar Why this? Essential for the shattering top (Substitute: Coconut sugar, but it will be denser)
- 2 Large eggs Why this? Binds everything together (Substitute: 2 flax eggs for vegan, though texture changes)
- 5 ml Vanilla extract Why this? Enhances the cocoa notes (Substitute: Maple syrup)
- 65 g All purpose flour Why this? Just enough to hold the shape (Substitute: Almond flour for gluten-free, though softer)
- 1.5 g Salt Why this? Balances the sugar (Substitute: Sea salt flakes on top)
- 130 g Semi sweet chocolate chips or chunks Why this? Creates pockets of melted chocolate (Substitute: White chocolate for contrast)
Equipment Needed
You don't need a kitchen full of gadgets. A few basics will do.
- 8x8 inch square baking pan
- Parchment paper (Essential for easy removal)
- Small saucepan
- Mixing bowl
- Hand whisk
- Silicone spatula
Chef Note: Always leave an overhang of parchment paper on the sides. This allows you to lift the entire block of brownies out of the pan once cooled, which makes cutting clean squares so much easier.
How to Make It
Let's crack on. Follow these steps closely, and pay attention to the textures.
- Line your pan with parchment paper. In a saucepan over low heat, melt the butter and chopped chocolate together, stirring until the mixture is smooth and glossy. Note: Low heat prevents the chocolate from burning.
- Whisk in the cocoa powder until fully incorporated, then remove from heat.
- In a bowl, whisk the eggs and sugar together for 2-3 minutes until the mixture is pale and fluffy. Note: This aeration is the key to the top crust.
- Stir in the vanilla extract.
- Slowly pour in the melted chocolate mixture, whisking until combined.
- Gently fold in the flour and salt using a spatula stop the moment no white streaks remain to avoid over mixing. Note: Over mixing develops gluten, which makes brownies cakey.
- Fold in the chocolate chips.
- Spread the batter evenly into the pan.
- Bake at 350°F (180°C) for 25-30 minutes until the edges are firm and pull away slightly from the sides, but the center remains soft.
Common Mistakes & Troubleshooting
Even the best of us mess up occasionally. Usually, it comes down to temperature or timing.
| Issue | Solution |
|---|---|
| Why Your Brownies Are Cakey | This usually happens because of too much air or too much flour. If you beat the batter after adding the flour, you're creating a cake structure. Stick to folding with a spatula. |
| Why Your Top Is Dull | A dull top usually means the sugar didn't dissolve properly or the eggs weren't whipped enough. Ensure you hit that 3 minute mark with the eggs and sugar. |
| Why Your Brownies Are Greasy | This happens when the butter and chocolate separate, often caused by overheating the chocolate. Keep your saucepan on low. |
Quick Success Checklist:
- ✓ Parchment paper is lining the pan
- ✓ Eggs and sugar are pale and fluffy
- ✓ Flour is folded, not stirred
- ✓ Removed from oven while center is soft
Flavor Variations to Try
Once you've mastered the Ultimate Decadent Fudgy Chocolate Brownie Recipe, you can start playing with the additions.
For a Nutty Crunch
Fold in 100g of toasted walnuts or pecans during the final step. The bitterness of the nuts balances the sweetness of the chocolate.
For an Espresso Boost
Add 1 teaspoon of instant espresso powder to the melted chocolate. It doesn't make them taste like coffee, but it makes the chocolate taste "more" like chocolate.
For a gluten-free Swap
Replace the all purpose flour with a 1:1 gluten-free blend. You might find the texture is slightly more moist, so add 2 minutes to the bake time.
If you find yourself craving other chocolatey treats, you could try pairing these with some Caramel Ritz Cookies for a full dessert spread.
Scaling the Batch: - To make a half batch: Use a loaf pan. Reduce the bake time by about 20% and beat one egg, then use half of it. - To double the batch: Use a 9x13 inch pan.
Lower the oven temp to 325°F (160°C) and extend the baking time by 5-10 minutes to ensure the center cooks through without burning the edges.
Storage & Reheating
Brownies actually taste better the next day once the fats have settled and the flavors have deepened.
Storage Guidelines: Store them in an airtight container at room temperature for up to 4 days. For longer storage, the fridge is your friend; they'll stay fresh for about a week. In fact, many people prefer them cold because it enhances the fudgy texture.
Freezing: Wrap individual squares in plastic wrap and place them in a freezer bag. They'll stay great for 3 months. To eat, just let them thaw at room temperature for an hour.
Zero Waste Tips: If you have a few scraps left over, don't toss them. Crumble them over vanilla ice cream or use them as a base for a chocolate trifle. You can even melt them down with a bit of cream to make a quick chocolate ganache.
Serving Suggestions
The best way to serve these is slightly warm, but let them cool completely in the pan before cutting. If you cut them while hot, they'll fall apart.
For a real treat, top each square with a dollop of salted whipped cream or a scoop of vanilla bean ice cream. The cold cream against the dense, warm chocolate is a winner every time.
You can also dust them with a bit of powdered sugar for a more polished look, though the natural crackle of this Ultimate Decadent Fudgy Chocolate Brownie Recipe is usually beautiful enough on its own.
Recipe FAQs
Can I use milk chocolate instead of semi sweet?
No, stick to semi sweet. Milk chocolate is too sweet and lacks the cocoa intensity needed for a deep fudgy texture. If you're craving something sweeter, try our pecan turtle bars.
Why are my brownies cakey instead of fudgy?
You likely over mixed the batter. Beating the mixture after adding the flour creates a cake like structure; always use a spatula to gently fold in the dry ingredients.
Is it true that a dull top means the brownies are ruined?
No, this is a common misconception. A dull top usually means the sugar didn't dissolve or the eggs weren't whipped for the full 3 minutes, but the flavor remains delicious.
How to tell when the brownies are perfectly baked?
Look for firm edges that pull away slightly from the pan. The center should still look soft to ensure they stay decadent after they cool.
Can these brownies be frozen?
Yes, they freeze beautifully. Wrap individual squares in plastic wrap and store them in a freezer bag for up to 3 months.
Do these brownies taste better the next day?
Yes, they do. Letting them sit allows the fats to settle and the chocolate flavors to deepen and intensify.
How to prevent the batter from becoming too tough?
Fold the flour and salt in gently with a spatula. Stop the moment no white streaks remain to avoid over working the gluten.
Decadent Fudgy Chocolate Brownies