Homemade Simple Syrup: Silky and Sweet
- Time: 1 min active + 4 min cook + 10 min cooling = Total 15 minutes
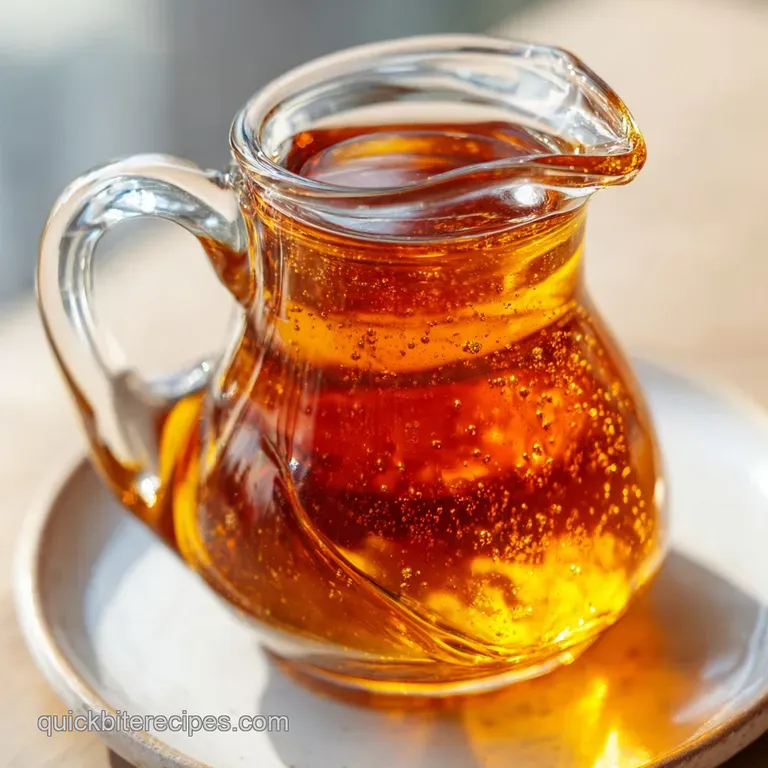
- Flavor/Texture Hook: Silky, transparent, and intensely sweet
- Perfect for: Home bars, morning lattes, and dessert drizzling
- Easy Homemade Simple Syrup
- Science of the Sweetness
- Essential Pantry Items
- Required Kitchen Gear
- Step by Step Method
- Fixing Common Syrup Glitches
- Troubleshooting Common Issues
- Creative Flavor Variations
- Adjusting Your Batch Size
- Syrup Myths
- Preservation Secrets
- Best Ways to Serve
- Recipe FAQs
- 📝 Recipe Card
The scent of heating sugar is something else, isn't it? It starts as nothing, then suddenly this warm, toasted aroma fills the kitchen as those tiny white crystals vanish into the water. It's one of those basic kitchen magic tricks that feels like a cheat code once you have a jar of it in the fridge.
Historically, these syrups were the backbone of "cordials" and old school apothecary tonics. In the early days of American cocktail culture, bartenders needed a way to sweeten drinks without having to shake a cocktail for ten minutes just to get a few grains of sugar to dissolve.
They realized that by pre dissolving the sugar, they could create a consistent, professional grade sweetness every single time.
Trust me, once you see how easy it is to make Simple Syrup, you'll never buy the bottled stuff again. It's cheaper, tastes cleaner, and you can control exactly how sweet it is. Right then, let's get into how to actually do this without ruining your pan.
Easy Homemade Simple Syrup
The beauty of this recipe is the simplicity. You aren't fighting with temperamental emulsions or worrying about a cake not rising. You're essentially just managing solubility. According to Serious Eats, the ratio of sugar to water determines not only the sweetness but also the shelf life of the syrup.
A 1:1 ratio is the gold standard for home cooks because it's versatile. It's thin enough to pour easily but thick enough to cling to the side of a glass. Honestly, don't even bother with low-fat alternatives or artificial sweeteners here, as they don't provide that same velvety mouthfeel.
Whether you are learning how to make simple syrup for the first time or you're a seasoned pro, the goal is total clarity. If your syrup looks cloudy, you've either stopped too early or you've let it boil for way too long. We want that crystal clear, liquid diamond look.
Science of the Sweetness
Saturation Point: Water can only hold so much sugar. Heating the water increases the kinetic energy, allowing more sugar molecules to fit between the water molecules.
Solubility: The heat breaks the bonds of the sugar crystals, turning a gritty solid into a homogeneous liquid.
Viscosity: As the sugar concentration increases, the liquid becomes thicker. This is what gives the syrup its "cling" when used in cocktails.
Preservation: High sugar concentrations act as a preservative by binding water molecules, making them unavailable for bacteria to grow.
| Method | Time | Texture | Best For |
|---|---|---|---|
| Stovetop | 15 mins | Velvety | Cocktails, Coffee, Baking |
| Cold Shake | 2 mins | Gritty | Quick drinks, Emergency use |
| Slow Melt | 20 mins | Thick/Rich | Glazes, Dessert toppings |
Essential Pantry Items
To make simple syrup, you only need two things. But the quality of the sugar actually matters more than you'd think. I usually stick to standard granulated sugar because it's the most budget friendly and dissolves the fastest.
Component Analysis
| Ingredient | Science Role | Pro Secret |
|---|---|---|
| Granulated Sugar | Solute/Sweetener | Use refined white for neutrality |
| Filtered Water | Solvent | Filtered water prevents "off" tastes |
The Goods: - 1 cup (200g) granulated white sugar Why this? Cheap, neutral, and dissolves quickly. Substitute: Light brown sugar for a caramel note. - 1 cup (240ml) water Why this? Standard 1:1 ratio.
Substitute: Strong brewed coffee for a coffee syrup.
Required Kitchen Gear
You don't need a fancy setup for this. A small saucepan is plenty. I prefer one with a heavy bottom so the sugar doesn't scorch in the corners.
If you have a whisk, use it. A fork works in a pinch, but a whisk helps you incorporate the sugar faster. For storage, a glass jar with an airtight lid is non negotiable. Plastic can leach flavors over time, and you want your syrup to taste like sugar, not a Tupperware container.
Step by step Method
Let's crack on. Follow these steps and you'll have a professional result in no time.
- Measure out your water and pour it into the saucepan.
- Place the pan over medium heat and bring the water to a light simmer. Note: Don't let it reach a rolling boil yet.
- Gradually whisk in the granulated sugar.
- Stir the mixture steadily.
- Continue stirring until the liquid transforms from a cloudy white to a completely clear, transparent state.
- Remove the pan from the heat immediately once the crystals vanish. Note: Overcooking can make the syrup too thick.
- Set the pan aside and allow the syrup to sit for 10 minutes.
- Wait until it reaches room temperature before moving it.
- Pour the finished liquid into a clean glass jar.
- Seal with an airtight lid and store in the fridge.
Fixing Common Syrup Glitches

The most common issue people have when they make simple syrup is "cloudiness." This usually happens because the sugar wasn't fully dissolved or you used water with a lot of mineral deposits.
Troubleshooting Common Issues
| Issue | Solution |
|---|---|
| Why Your Syrup Is Cloudy | If you see a milky haze, the sugar crystals are still partially intact or you've introduced air through too much aggressive whisking. Just put it back on the heat for another 60 seconds. |
| Why Your Syrup Crystallized | If you see sugar crystals forming on the sides of the jar, it's usually because the syrup was moved to the fridge while still too hot, or it was over reduced on the stove. |
| Why Your Syrup Tastes Burnt | This happens if the heat was too high and the sugar scorched before it dissolved. Once it's burnt, you can't fix it - you have to start over. |
Common Mistakes Checklist:
- ✓ Don't boil the syrup for too long or it becomes a thick glaze.
- ✓ Don't skip the cooling period before jarring.
- ✓ Use a clean, dry spoon to avoid introducing bacteria.
- ✓ Avoid stirring too violently once it's clear to prevent bubbles.
Creative Flavor Variations
Once you know how to make simple syrup, you can turn it into a flavor bomb. The trick is to add your flavors during the simmering stage so the heat extracts the oils.
Adding Brown Sugar
If you want a deeper, molasses like flavor, swap the white sugar for brown sugar. This creates a brown sugar simple syrup that is brilliant in Old Fashioned cocktails or over pancakes.
Adding Fruit Extracts
For a fruity twist, add a handful of berries or a cinnamon stick while the water simmers. Strain the solids out before jarring. If you're craving something tropical, this works beautifully in a Mango Sago dessert.
Using it for Coffee
To make simple syrup for coffee, you can add a drop of vanilla extract or a pinch of salt. This cuts the bitterness of the espresso and gives you a velvety sweetness without the grit of raw sugar.
Adjusting Your Batch Size
If you're making a massive amount for a party, don't just multiply everything and hope for the best.
Scaling Down: If you only need a tiny bit, use 1/4 cup of each. Use a very small pan, as a large pan will cause the water to evaporate too quickly, leaving you with a thick sludge instead of a syrup.
Scaling Up: For 4x batches, increase the liquids by only 90% instead of 100% to account for the lower evaporation rate in larger volumes. Give yourself an extra 5 minutes of simmering time to ensure all the sugar is dissolved.
| Scale | Sugar | Water | Cook Time Adjustment |
|---|---|---|---|
| 1/4 Batch | 1/4 cup | 1/4 cup | Reduce time by 20% |
| 2x Batch | 2 cups | 2 cups | Add 2-3 mins |
| 4x Batch | 4 cups | 3.6 cups | Add 5-7 mins |
Syrup Myths
Myth: You must boil sugar to make it a syrup. Truth: You actually only need to reach the point of solubility. Boiling it for too long removes too much water, changing the ratio and making it too thick for cocktails.
Myth: Homemade syrup spoils instantly. Truth: Sugar is a natural preservative. As long as the jar is airtight and clean, it stays fresh for weeks in the fridge.
Preservation Secrets
Store your syrup in the refrigerator. It'll stay fresh for about 3-4 weeks. If you notice any "floaties" or a change in smell, toss it. To maximize shelf life, you can add a teaspoon of vodka to the mix, which acts as an additional preservative.
For zero waste, if you have a bit of syrup left in the bottom of the jar that you can't pour out, add a splash of hot water or coffee, shake it up, and use it as a final drink.
Best Ways to Serve
This is the ultimate utility player in the kitchen. Use it to sweeten iced tea, drizzle it over a fruit tart, or use it in your morning latte. For a savory contrast, maybe pair a sweet drink with some homemade hummus as a snack.
The best part is that it mixes instantly. No more clumps of sugar at the bottom of your iced coffee. Just a splash, a stir, and you're good to go. Trust me, your morning routine will be way faster once you have a bottle of this ready to go.
Recipe FAQs
What is the formula for basic simple syrup?
Equal parts sugar and water. This standard ratio uses 1 cup of granulated white sugar and 1 cup of water.
Is simple syrup 2 to 1 or 1 to 1?
This recipe is 1 to 1. While rich syrups use a 2:1 ratio, the 1:1 blend is the most versatile for general use and dissolves quickly.
How to make simple syrup at home?
Pour water into a saucepan and bring to a light simmer over medium heat. Whisk in sugar steadily until the liquid transforms from cloudy white to completely transparent, then remove from heat immediately.
Should simple syrup be boiled?
No, bring it only to a light simmer. Overcooking or reaching a rolling boil can cause the syrup to over reduce or taste burnt.
Why is my simple syrup cloudy?
The sugar crystals are likely still partially intact. Put the mixture back on the heat for another 60 seconds and stir until the haze disappears.
Why did my syrup crystallize in the jar?
It was likely refrigerated while too hot or over reduced on the stove. Always allow the syrup to sit for 10 minutes to reach room temperature before transferring it to an airtight glass jar.
What is the best way to use this syrup?
It is ideal for cocktails, iced teas, and coffee. If you enjoyed mastering the clear dissolve technique here, see how we use a similar approach for our lavender cold foam.
Homemade Simple Syrup

