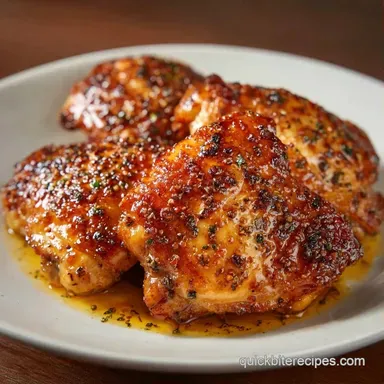
Quick Pressure Cooker Thighs: Mahogany Crust
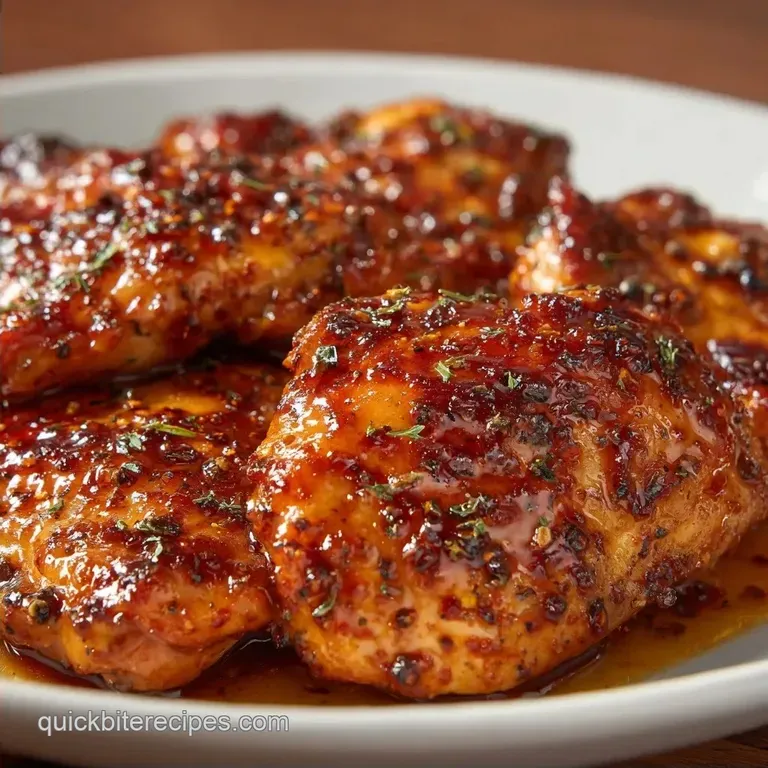
- Time: 5 min active + 15 min cook
- Flavor/Texture Hook: Mahogany crust with a velvety finish
- Perfect for: Hectic Tuesday nights or budget-friendly meal prep
Sizzle. That's the sound of the olive oil hitting the pot and the smoked paprika beginning to toast. I remember a Tuesday last November when I had exactly 30 minutes to get dinner on the table before the kids started their "I'm starving" meltdown.
I had a pack of boneless thighs in the fridge and a pressure cooker that had been gathering dust.
I didn't want a bland, boiled mess. I wanted something that tasted like it spent hours in an oven but fit into a tiny window of time. That's how these Quick Pressure Cooker Thighs became my go to. It's about the contrast between that sharp, seared exterior and the tender interior.
You can expect meat that pulls apart easily but still holds its shape. It's a budget friendly win that uses basic pantry staples to create a deep, smoky flavor. No fancy ingredients, just smart timing.
Quick Pressure Cooker Thighs
When you're rushing, it's easy to just throw everything in the pot and hit "start." But that's where most people go wrong. If you skip the searing step, you're missing out on the depth of flavor that only happens when meat hits a hot surface.
The magic here is the combination of the smoked paprika and the apple cider vinegar. The paprika gives you that faux grilled taste, while the vinegar cuts through the fat of the thighs. This prevents the dish from feeling too "heavy" and keeps the meat tasting bright.
If you're looking for other fast track meals, you might like my High Protein Breakfast Burritos for your morning routine. Both rely on efficiency and bold seasoning to make simple proteins stand out.
Where Most Chicken Recipes Fail
Most home cooks end up with chicken that is either rubbery or looks gray. This usually happens because they crowd the pan or cook the meat for too long under pressure.
The Sear: High heat creates a crust that locks in flavor. It doesn't technically "seal in juices," but it adds a layer of complexity that boiling simply can't match.
Acid Balance: Using apple cider vinegar breaks down the tough fibers in the thigh meat. It makes the texture more tender and helps the spices penetrate deeper into the meat.
The Deglaze: Scraping the bottom of the pot removes the "fond," those brown bits of caramelized protein. If you leave them, they can trigger a "Burn" notice on your machine.
Resting Time: Moving meat straight from the pot to the plate causes the juices to run out. A 5 minute rest lets the fibers relax and reabsorb those liquids.
| Method | Time | Texture | Best For |
|---|---|---|---|
| Pressure Cooker | 25 mins | Tender & Juicy | Weeknight speed |
| oven roasted | 45 mins | Crispy skin | Sunday dinner |
| Stovetop Pan | 20 mins | Firm & Seared | Single servings |
The Recipe Breakdown
Before we get into the pot, let's look at why these specific ingredients are in the mix. I've spent a lot of time swapping things out, and this balance is what actually works.
| Ingredient | Role | Pro Secret |
|---|---|---|
| Smoked Paprika | Earthy color & smoke | Use a Spanish pimentón for more depth |
| AC Vinegar | Tenderizer | Cuts through the chicken fat |
| Chicken Broth | Steam source | Low sodium lets you control the salt |
| Garlic Powder | Base savory note | Pairs with fresh garlic for two layers of flavor |
Everything You Need
Keep it simple. You don't need a gourmet pantry for this. I've listed the metric equivalents since they're more precise for some of you.
- 450g (1 lb) boneless skinless chicken thighs Why this? Higher fat content than breasts, so they don't dry out.
- 5ml (1 tsp) smoked paprika Why this? Gives a grilled flavor without a grill.
- 5ml (1 tsp) garlic powder Why this? Even distribution of flavor.
- 2.5ml (½ tsp) onion powder Why this? Adds a subtle sweetness.
- 2.5ml (½ tsp) salt Why this? Essential for moisture retention.
- 1.25ml (¼ tsp) cracked black pepper Why this? Adds a tiny bit of heat.
- 15ml (1 tbsp) olive oil Why this? High smoke point for searing.
- 120ml (½ cup) low sodium chicken broth Why this? Prevents the "Burn" error.
- 15ml (1 tbsp) apple cider vinegar Why this? Balances the richness.
- 2 cloves minced garlic Why this? Fresh aroma in the final sauce.
Quick Swaps:
| Original Ingredient | Substitute | Why It Works |
|---|---|---|
| Apple Cider Vinegar | Lemon Juice | Similar acidity. Note: Gives a zestier, citrus finish |
| Smoked Paprika | Regular Paprika + Cumin | Mimics the earthiness. Note: Lacks the "smoke" |
| Olive Oil | Avocado Oil | Higher smoke point. Note: Neutral flavor |
| Chicken Broth | Water + pinch of salt | Basic liquid. Note: Less depth in the sauce |
Since you're using a pressure cooker, the liquid ratio is key. According to guidelines on Serious Eats, maintaining enough liquid to create steam is the only way to avoid scorching the bottom of your pot.
Must Have Gear
You don't need a huge arsenal. Just a few basics will do.
- Electric Pressure Cooker (like an Instant Pot)
- Tongs for flipping the meat
- Wooden spoon or silicone spatula for deglazing
- Paper towels (essential for drying the meat)
- Meat thermometer (optional, but helpful for precision)
Step-by-step Cooking Guide
Let's get into it. Follow these steps and you'll have dinner on the table in no time.
- Pat the chicken thighs dry with paper towels. Note: Wet meat steams instead of searing, which means no crust.
- Rub the smoked paprika, garlic powder, onion powder, salt, and pepper evenly over all sides of the meat.
- Set your cooker to Sauté (High) and add the olive oil.
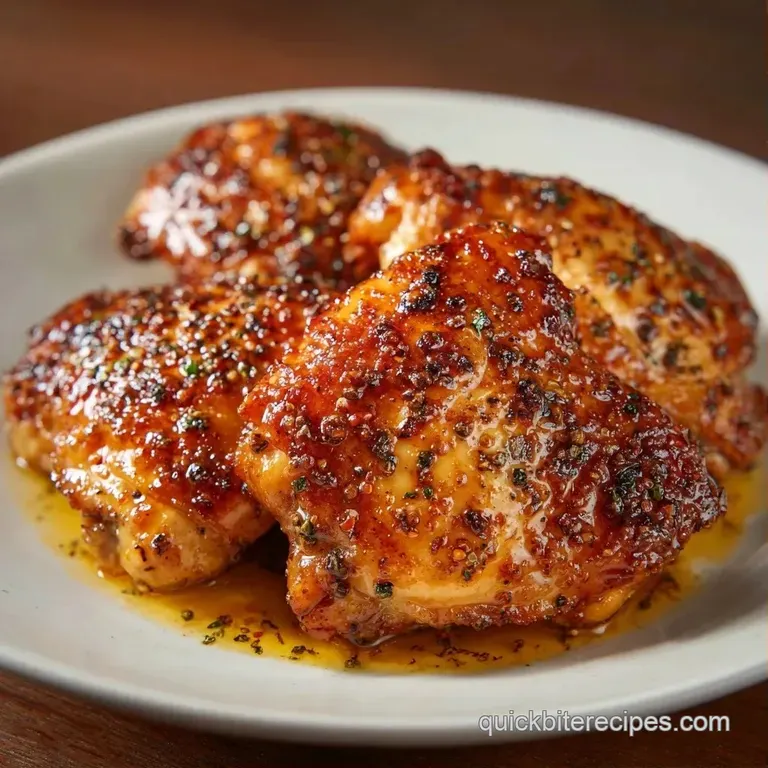
- Sear the thighs for 3 to 4 minutes per side until a mahogany colored crust forms. Move them to a plate.
- Pour in the chicken broth and apple cider vinegar.
- Use your wooden spoon to scrape the bottom of the pot until no browned bits remain. This is the deglazing phase.
- Return the chicken to the pot and add the minced garlic.
- Seal the lid and set to High Pressure for 10 minutes. Note: If you're using bone in thighs, bump this to 13 minutes.
- Perform a Quick Release of the pressure valve immediately once the timer ends.
- Remove the thighs and let them rest for 5 minutes until the juices settle. Spoon the pot liquid over the meat as a final glaze.
Avoiding Common Cooking Mistakes
Even with a simple recipe, things can go sideways. Most issues with Quick Pressure Cooker Thighs come down to temperature or liquid.
Rubbery or Gray Meat
If your chicken looks gray, you probably crowded the pan during the sear. When too many pieces of meat hit the oil at once, the temperature drops and the meat boils in its own juices. Cook in two batches if you're making a double portion.
The Dreaded Burn Notice
A "Burn" notice happens when food is stuck to the bottom. If you don't scrape the pot after searing (Step 6), those caramelized bits burn under high pressure. Make sure the bottom is completely smooth before sealing the lid.
Pink Meat Near Bone
For bone in thighs, some pinkness is normal, but the temperature should be 74°C (165°F). If it's under, just pop them back in for 2 more minutes of pressure.
| Problem | Root Cause | Solution |
|---|---|---|
| Tough texture | Not enough liquid | Add 2 tbsp more broth |
| Bland flavor | Meat wasn't dried | Pat dry before seasoning |
| Sauce too thin | Too much broth | Simmer on Sauté for 5 mins after cooking |
Common Mistakes Checklist:
- ✓ Did you pat the meat dry?
- ✓ Did you scrape the bottom of the pot after searing?
- ✓ Did you wait 5 minutes before slicing?
- ✓ Did you use a Quick Release instead of Natural Release?
Fun Flavor Variations
Once you've got the base down, you can play with the flavors. These Quick Pressure Cooker Thighs are like a blank canvas.
Honey Garlic Version: Replace the apple cider vinegar with 2 tablespoons of honey and add an extra clove of garlic. It creates a sticky, sweet glaze that's great over rice.
Mexican Style: Swap the smoked paprika for cumin and chili powder. Use lime juice instead of vinegar. This is a great way to make shredded chicken for tacos. If you're serving this, a side of Homemade Hummus adds a nice creamy contrast to the spice.
Lemon Herb: Use dried oregano and thyme instead of paprika. Swap the vinegar for fresh lemon juice. This feels a bit lighter and more like a Mediterranean dish.
Storage and Leftover Tips
Don't let the extra meat go to waste. These thighs actually taste better the next day because the spices have more time to meld.
Fridge Storage: Place the chicken and any remaining sauce in an airtight container. They'll stay fresh for 3 to 4 days.
Freezer Storage: You can freeze cooked thighs for up to 3 months. Wrap them tightly in foil and then put them in a freezer bag. To reheat, thaw in the fridge overnight and warm them in a pan with a splash of water to keep them moist.
Reheating: Avoid the microwave if you can. It turns the meat rubbery. Instead, put the thighs in a skillet over medium heat with a tablespoon of broth for 5 minutes.
Zero Waste: Don't dump the liquid left in the pot. It's basically a concentrated chicken jus. Strain it and use it as a base for a quick gravy or pour it over some steamed carrots.
What to Serve Alongside
Since the chicken is rich and smoky, you need sides that provide a bit of freshness or a way to soak up that velvety sauce.
The Comfort Plate: Serve these with a scoop of buttery mashed potatoes and steamed green beans. The potatoes act as a sponge for the pan glaze.
The Low Carb Option: Go with roasted cauliflower or a crisp arugula salad with a lemon vinaigrette. This keeps the meal light while still feeling satisfying.
The Party Spread: If you're serving this as part of a larger meal, pair it with some 10 Minute Homemade Guacamole and corn chips for an appetizer that complements the smoky notes of the chicken.
Right then, you've got everything you need to nail these Quick Pressure Cooker Thighs. Just remember: dry the meat, sear it hard, and don't forget to scrape the pot. Trust me, your Tuesday nights are about to get a lot easier.
Recipe FAQs
How to cook chicken thighs in a pressure cooker?
Sear the seasoned meat in sauté mode, deglaze the pot with broth and vinegar, then pressure cook on high for 10 minutes. Use a quick release valve immediately after the timer ends to prevent overcooking.
Can I use boneless skinless chicken thighs?
Yes, these are the recommended cut for this recipe. They cook quickly and absorb the spice rub efficiently for a tender result.
How to adjust the timing for bone-in chicken thighs?
Increase the high pressure cooking time to 13 minutes. The bone requires a few extra minutes to ensure the meat is cooked through and pulls away easily.
Is it true that pressure cooking makes chicken thighs rubbery?
No, this is a common misconception. Thighs have enough natural fat to stay juicy under pressure; rubberiness usually results from overcooking or using lean breast meat.
How to get crispy skin on pressure cooker thighs?
Place the cooked thighs under an oven broiler for 2 3 minutes. This creates a shattering crust that the pressure cooker cannot achieve on its own.
How long can I store cooked thighs in the fridge?
Keep them for 3 to 4 days. Place the chicken and any remaining sauce in an airtight container to maintain moisture.
Can I use a slow cooker instead of a pressure cooker?
Yes, you can adapt this for a slower method. If you prefer a set-it-and-forget-it approach for your meal prep, try our Crockpot Chicken Thighs.
Quick Pressure Cooker Thighs