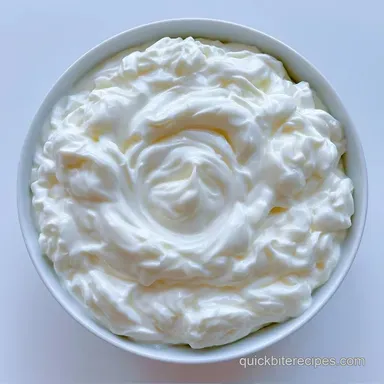
Quick Homemade Greek Yogurt
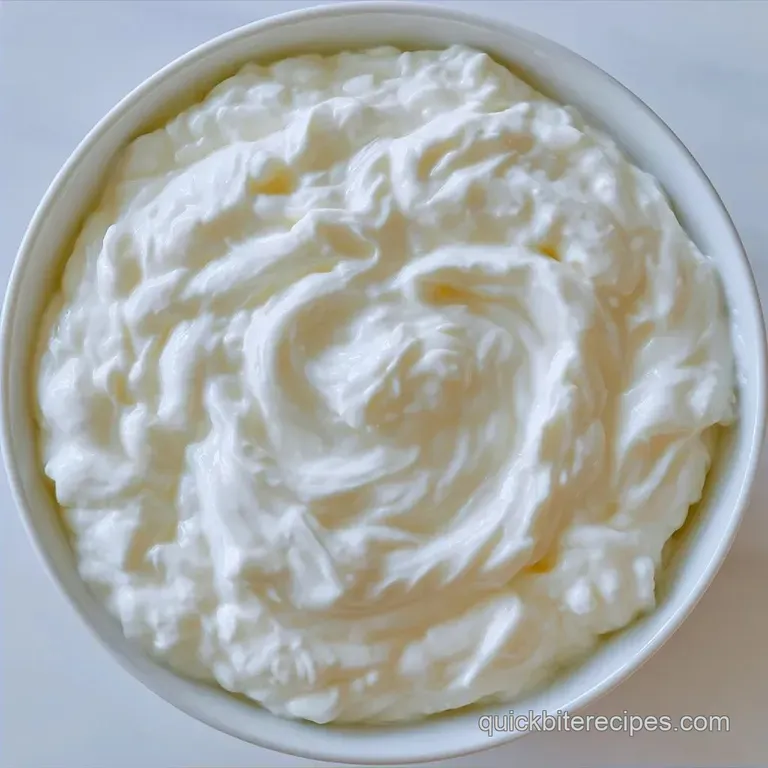
- Time: 30 min active + 20 hours total
- Flavor/Texture Hook: Tangy and velvety
- Perfect for: Healthy meal prep
I remember staring at the price of a 32 ounce tub of Greek yogurt and thinking, "No way." I'm a fan of the tang, but the store prices are wild. I decided to try it at home, and honestly, the first time I saw that liquid whey separate from the thick cream, I was hooked.
Making your own is actually a quick win. You don't need a lab or a fancy machine, just some patience and a thermometer. Once you see how much you can make with just two ingredients, you'll never go back to the dairy aisle.
This Homemade Greek Yogurt is dense, creamy, and way more satisfying than the watered down stuff. We'll focus on the heat and the strain, which are the two things that actually matter for that thick consistency.
The Logic Behind the Thickening
- Protein Prep: Heating milk to 180°F denatures whey proteins, which lets them create a stronger mesh to hold moisture.
- Lactic Acid: The bacteria eat the lactose and turn it into lactic acid, which firms up the proteins into a gel.
The Only Two Ingredients
Getting the base right is everything. I prefer whole milk because the fat provides a better mouthfeel. If you use skim, it'll be thinner, no matter how long you strain it.
| Ingredient | Role | If You Don't Have It |
|---|---|---|
| Whole Milk | Protein Base | 2% Milk (result is thinner) |
| Plain Yogurt | Bacterial Culture | Freeze dried starter |
You can use a store-bought plain yogurt as your starter, but make sure the label says "live active cultures." Without those, the milk just sits there.
| Original Ingredient | Substitute | Why It Works |
|---|---|---|
| Whole Milk (1/2 gal) | 2% Milk (1/2 gal) | Still provides protein. Note: Less creamy result |
| Plain Yogurt (1/3 cup) | Yogurt Starter (1 tsp) | Concentrated bacteria. Note: Follow packet dosage |
Timing and Yield Specs
The total time is long, but you aren't actually working for most of it. The magic happens while you sleep.
| Method | Heat Control | Setup Effort |
|---|---|---|
| Stovetop | Precise | High |
| Oven | Steady | Low |
The yield for this batch is roughly 1 quart of thick yogurt. Since we're straining out the whey, you lose some volume, but you gain a much denser texture.
Tools You'll Actually Need
A professional kitchen isn't required, but a digital thermometer is essential. Guessing the temperature is the quickest way to end up with warm milk instead of yogurt.
- Large heavy bottomed pot
- Digital meat thermometer
- Fine mesh strainer
- Cheesecloth or a clean coffee filter
- Incubation vessel (Instant Pot or a warm oven)
Chef: A clean cotton T-shirt works well if you lack cheesecloth. Just ensure it hasn't been treated with fabric softener.
The step by step Process
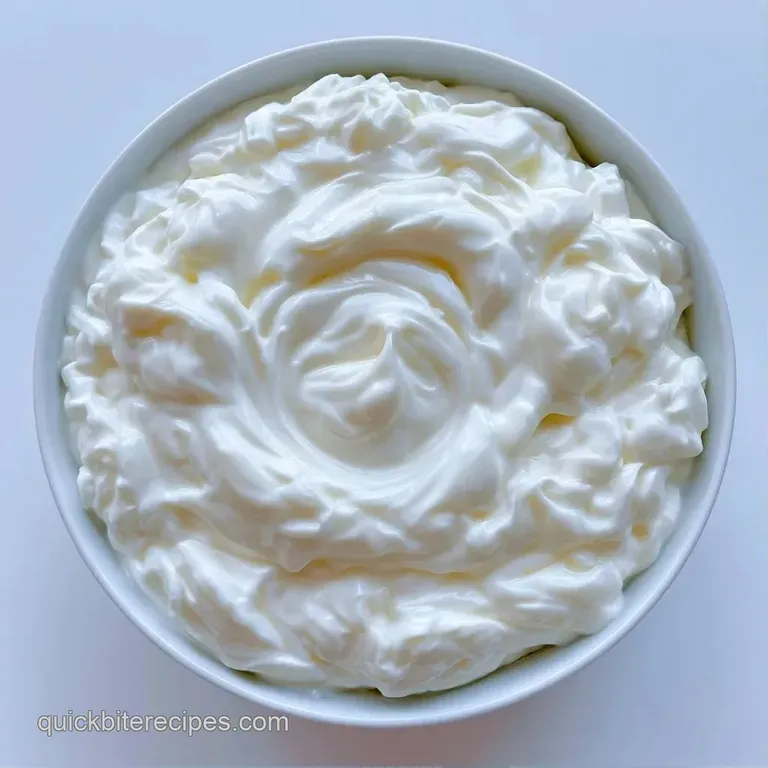
- Warm the milk in a large pot over medium heat, stirring every few minutes until it reaches 180°F (82°C) to avoid scorching.
- Remove from heat immediately. Cool the liquid naturally or use an ice bath until the temperature hits 110-115°F (43-46°C). Note: If it is too hot, the bacteria will be killed.
- Transfer 1/2 cup of the warm milk into a small bowl with the yogurt starter. Whisk until the mixture is smooth and lump free.
- Stir the starter mixture back into the main pot of warm milk. Mix gently to evenly distribute the culture.
- Pour the milk into your incubation vessel and let it sit undisturbed for 8 to 12 hours.
- Check the set until it has the consistency of a soft custard.
- Place a cheesecloth lined strainer over a bowl. Pour in the yogurt and refrigerate for 4 to 12 hours.
- Once the yogurt reaches your preferred thickness, discard or reuse the leftover whey.
Fixing Common Yogurt Issues
Fixing Runny Yogurt
If your Homemade Greek Yogurt is too liquid, it usually means the temperature dropped too low during the 8 hour wait. You can't "re cook" it, but you can strain it longer. Leave it in the fridge for an extra 6 hours to pull out more whey.
Handling Lumpy Textures
Lumps happen when the starter isn't whisked well into the milk. To avoid this, always mix the starter with a small amount of warm milk first. If it's already lumpy, a quick whisk with a fork can smooth it out before you strain it.
Solving Sour Tastes
Over incubating can make the yogurt too tart. If you prefer a milder taste, pull it out at the 8 hour mark. If you like that sharp bite, let it go for 12 hours.
Adjusting Your Batch Size
When making a larger batch of Homemade Greek Yogurt, don't just double the starter. Too much starter can actually hinder the thickening process.
Scaling Down
For a small batch, use 1 quart of milk and 2 tablespoons of starter. Use a smaller pot to keep the heat consistent.
Scaling Up
For 1 gallon of milk, use 1/2 cup of starter. Use a larger pot and be careful during the heating phase, as larger volumes of milk scorch more easily.
Keeping It Fresh Longer
Store your yogurt in a sealed glass jar in the refrigerator. It stays fresh for about 2 weeks.
Don't throw away the liquid whey. It's full of protein and probiotics. You can use it in smoothies or as a substitute for buttermilk in baking. This keeps the process zero waste and adds a nutritional boost to your other meals.
What to Pair With It
This yogurt is a blank canvas. For a savory start, pair this with a fresh Tzatziki recipe and some warm pita bread.
If you're feeling lazy, just top it with raw honey and sliced almonds. The thickness makes it feel more like a dessert than a breakfast food.
Different Ways to Use It
You can easily adapt this Homemade Greek Yogurt for different meals. Try these yogurt dinner bowls for a high protein meal that takes almost no effort.
The Sweet Route
Stir in vanilla bean paste and maple syrup after straining. It tastes like a tart cheesecake filling.
The Savory Route
Mix in minced garlic, lemon juice, and dried dill. This creates a great base for dipping raw vegetables.
For Dietary Swaps
If you need a lower fat version, use 2% milk. It won't be as thick, but it still tastes great.
- For a firmer set
- strain for 12 hours instead of 4.
- For a tangier taste
- incubate for 12 hours instead of 8.
- For a smoother finish
- whisk the starter longer.
Pro Tips: Use an ice bath to speed up the cooling process from 180°F to 110°F. Use a digital thermometer to ensure you don't kill the live cultures. Wrap your pot in a thick towel if you don't have an Instant Pot.
Chef's Tips: Use organic whole milk if possible; the proteins often create a more stable set. Heat the milk for an extra 5 minutes at 180°F to ensure the whey is fully denatured.
Common Misconceptions: You don't need a specialized yogurt maker. A warm oven with the light turned on provides enough heat to keep the bacteria happy. Also, you don't need expensive "professional" milk; any standard whole milk from the store works.
Recipe FAQs
Is making your own Greek yogurt actually worth the effort?
Yes, for the cost and texture. You get a much denser, creamier result than most store-bought tubs while spending significantly less over time.
How do I make Greek yogurt at home?
Heat whole milk to 180°F, then cool it to 110-115°F before stirring in a yogurt starter. Incubate the mixture for 8 to 12 hours and strain through cheesecloth for 4 to 12 hours to remove the whey.
What milk works best for this recipe?
Whole milk is the gold standard. The higher fat content ensures a velvety mouthfeel and a thicker final consistency after straining.
Do I need a professional machine to incubate the milk?
That's a myth. An Instant Pot on the yogurt setting or even a simple thermal bag keeps the temperature steady enough for the cultures to work.
Can I use this yogurt to thicken curries?
Indeed, it provides wonderful richness and zest. If you like using yogurt to tenderize savory meals, try our yogurt marinated chicken recipe.
Homemade Greek Yogurt